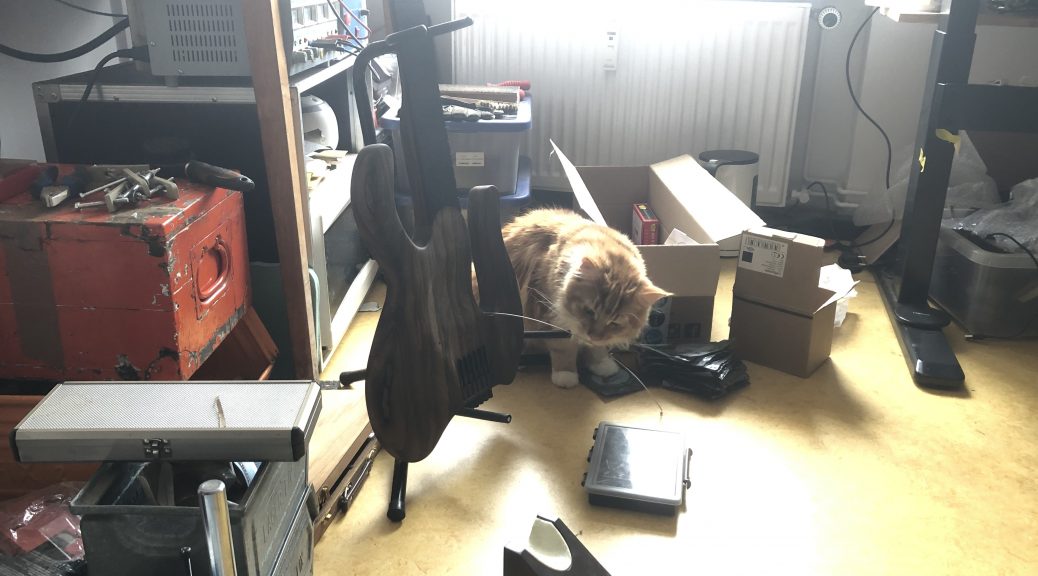
I’m making yet another attempt at trying to bring this website back to life. Will start by posting some pictures of the new guitar I’ve been building since early 2018.
I’ve set the publication dates to when I actually did the work, so if you prefer to read this chronologically you might wanna start down at the bottom of this page, or use the individual post links on the left.
In 2019 I didn’t make much progress with the guitar at all, mostly because my day job kept me busy for much longer than planned. On top of that I moved both our home and my shop (into one location actually).
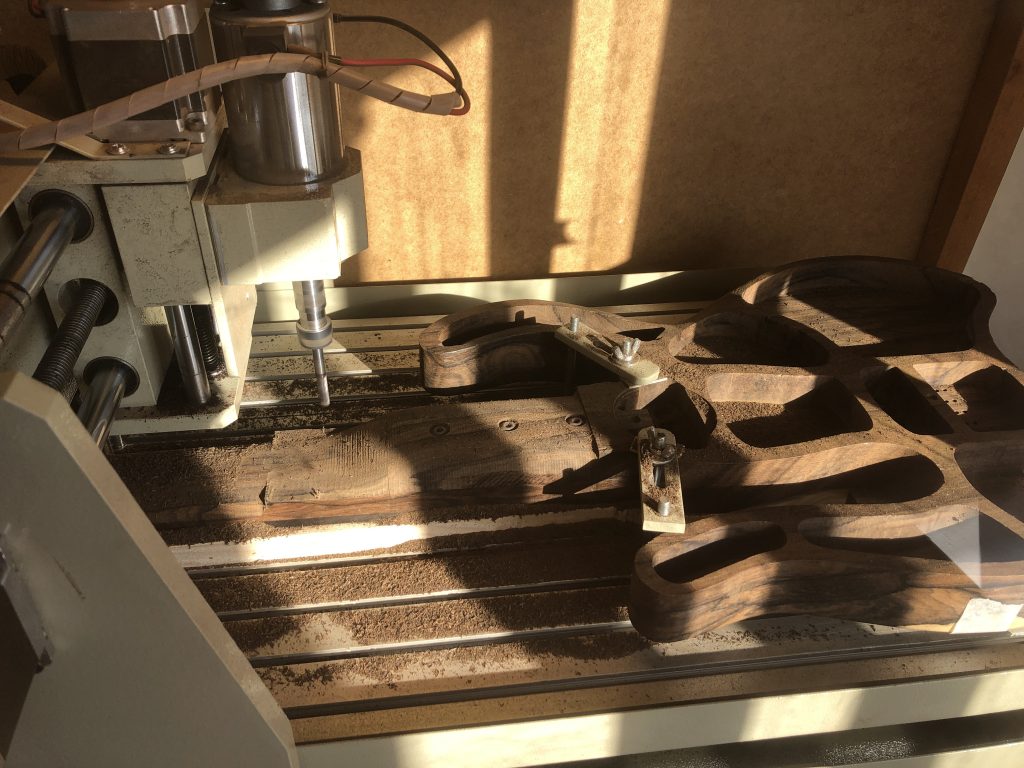
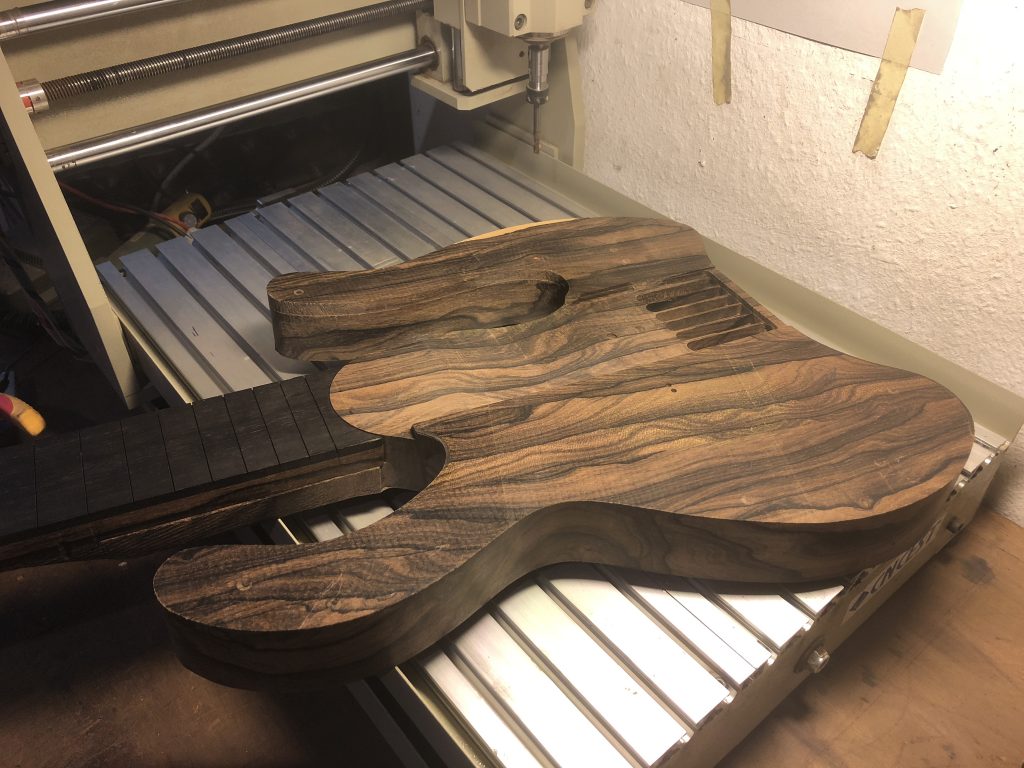
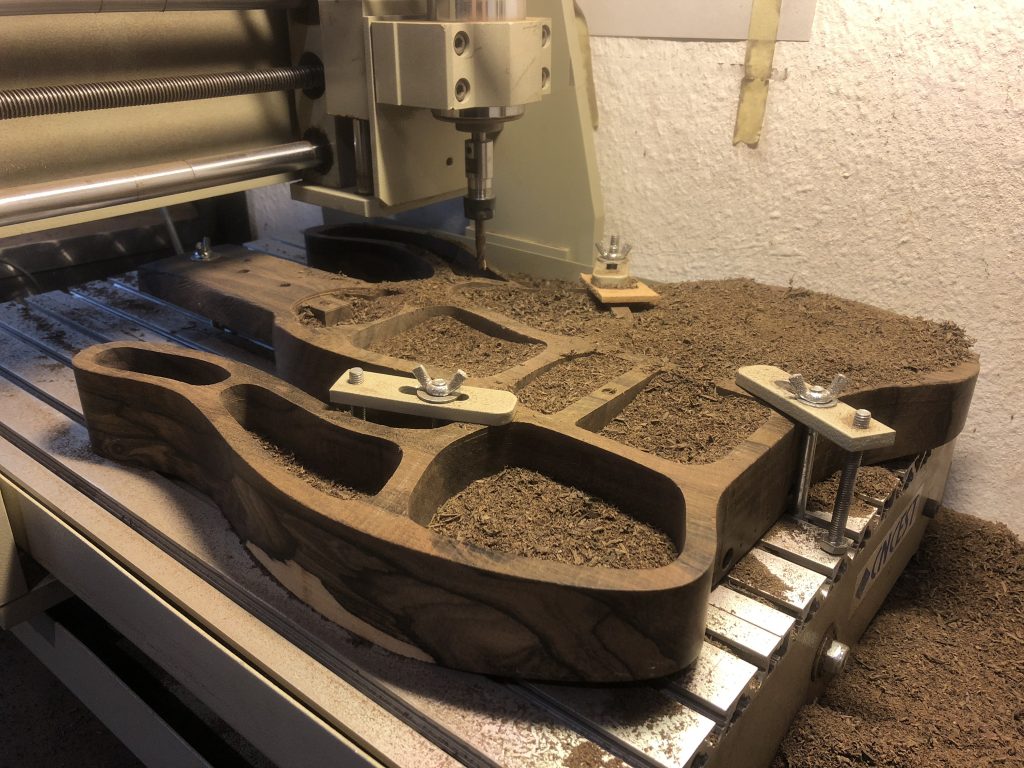
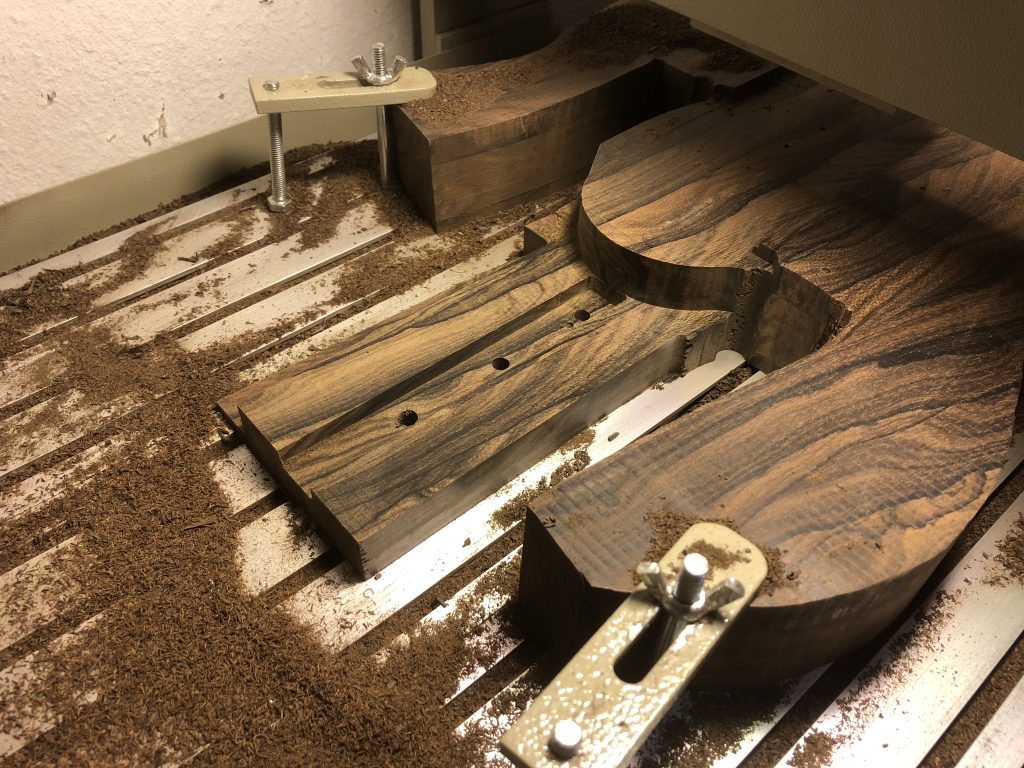
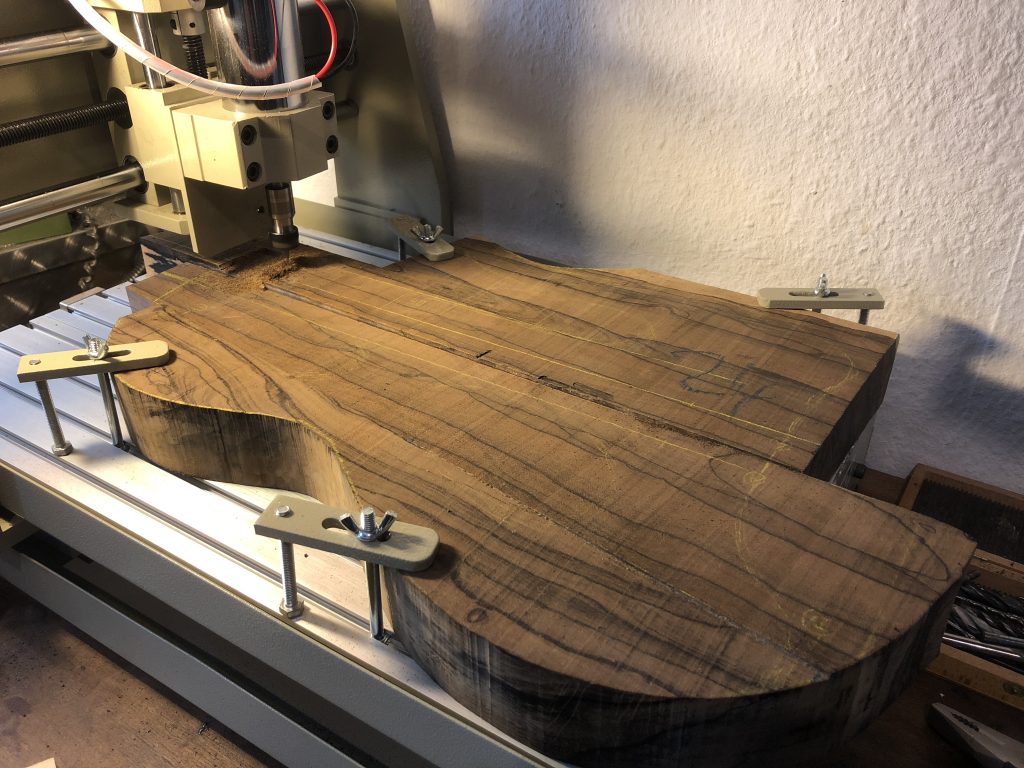
So it took until April 2020 that I sprung the CNC machine back to life and continued giving the guitar further shape. Here you can see it working on the neck-body joint:
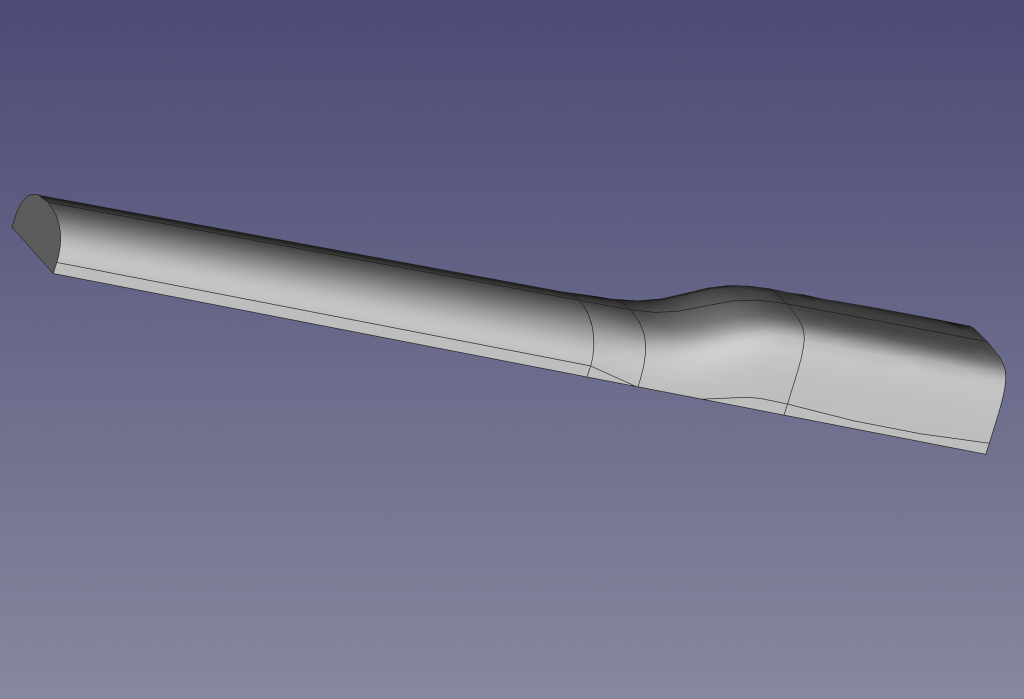
To properly cut the neck contour I had to go beyond the 2.5D approach and go full 3D. In a move to use more open-source software I opted for FreeCAD (also switch to kicad for PCB design recently).
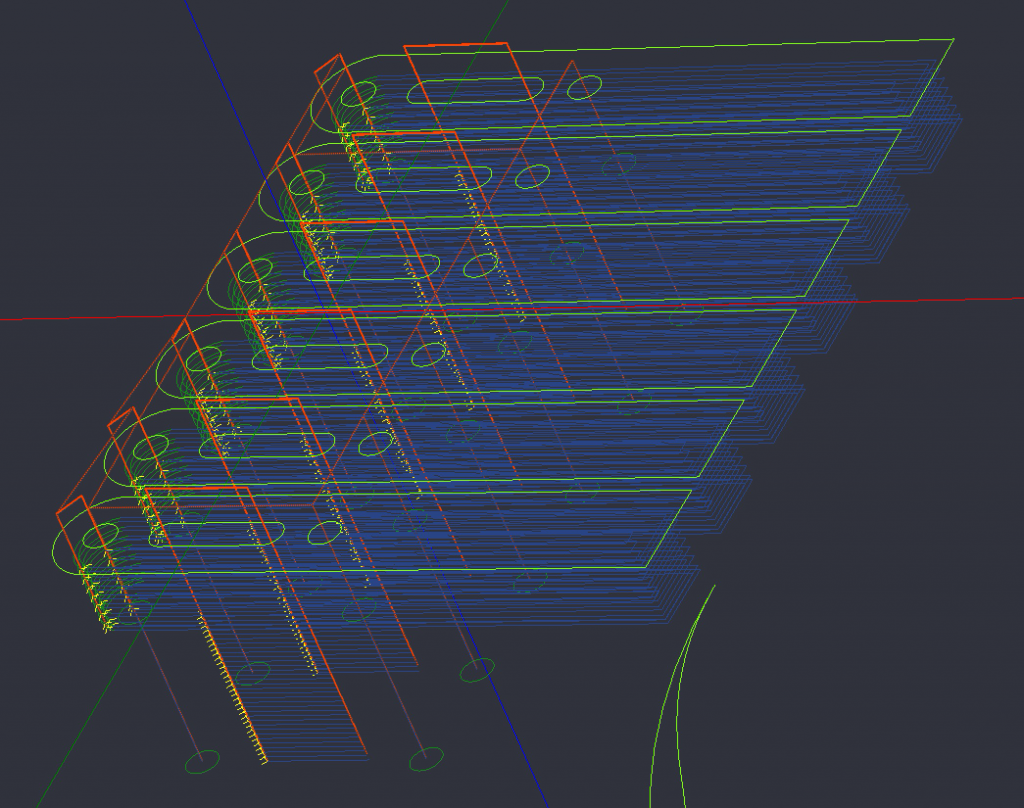
3D tools have a much steeper learning curve of course, so it took me a while to come up with this first design:
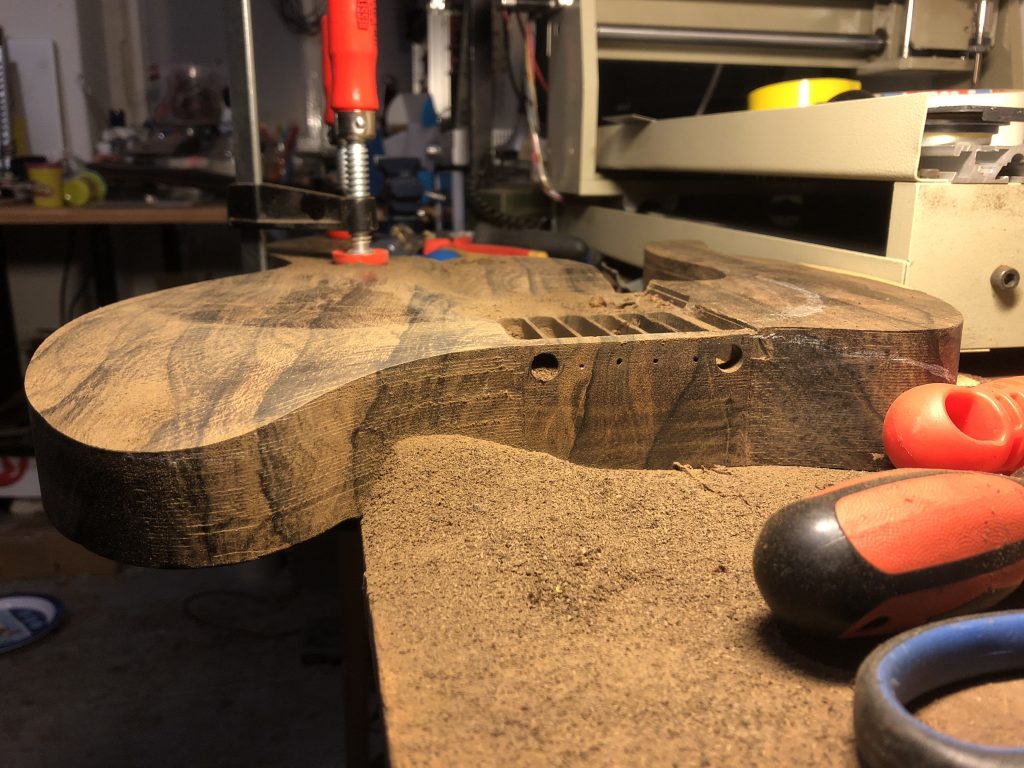
Here’s that section after some manual sanding:
While I started applying this 3D approach to the body as well, I realized that it was way too much work just to give all the edges a 5mm radius, so from there on out I went back to good old files and sand paper.
Here’s how that turned out for a section of the back:
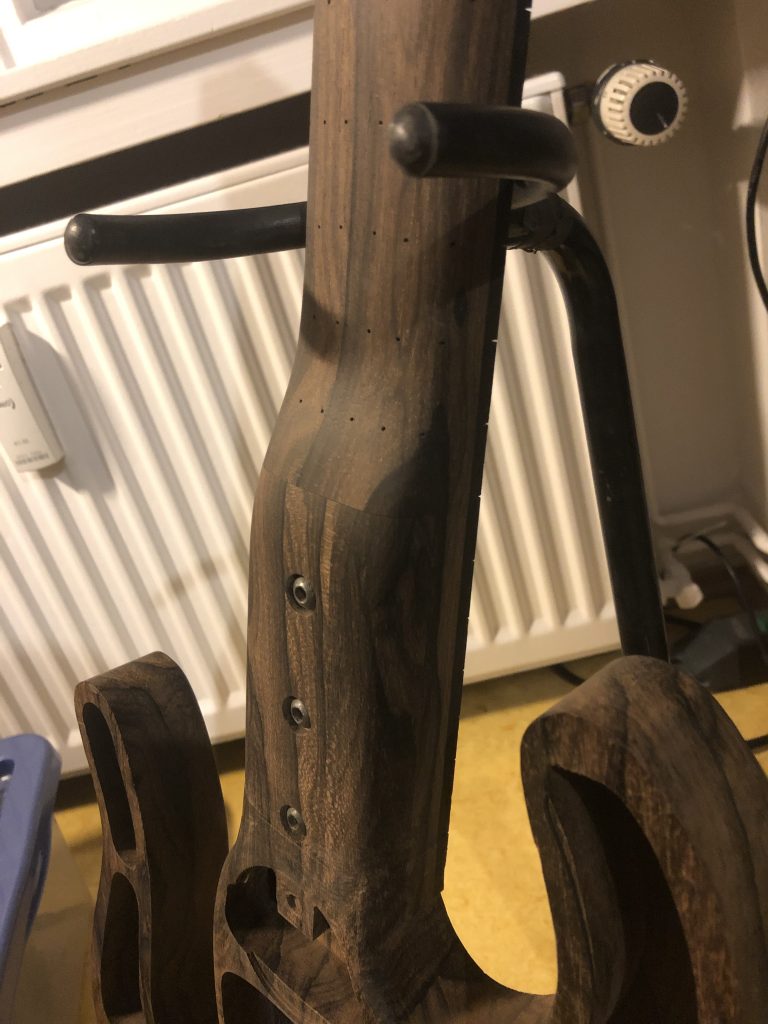
I also applied the manual approach to shape the head-stock. Here’s a picture of its back:
As you can see from my previous posts, the CNC machine was used for much more than originally intended. So as a next step it came naturally to also apply it to fine-tuning the body shape.
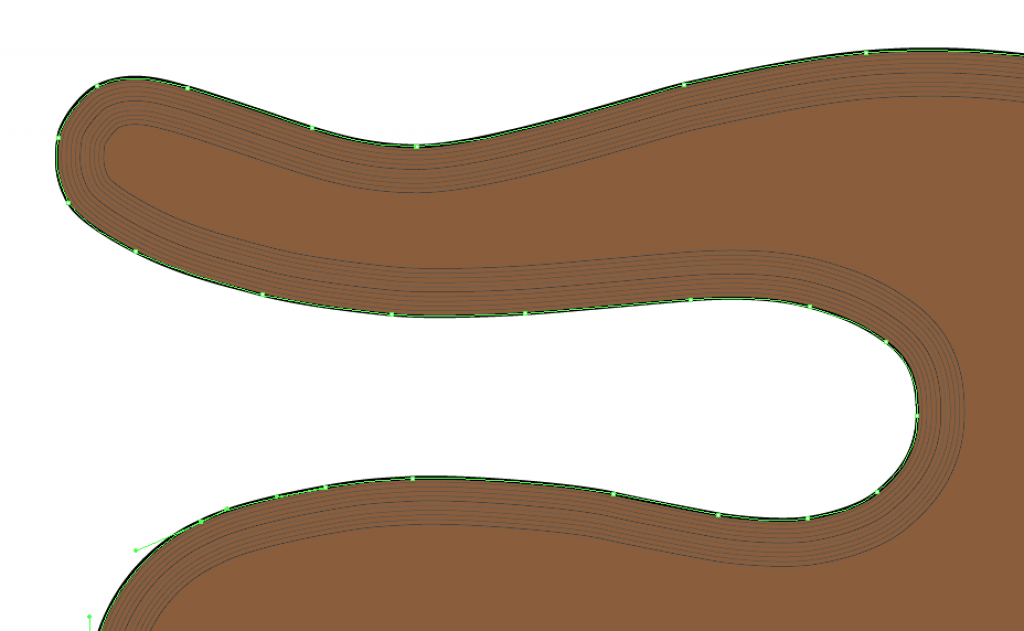
As CamBam isn’t really the best tool to draw Bezier curves, I resorted to good old Adobe Illustrator to draw the outline:
Although not trivial, this could then be exported as DXF and then imported into CamBam to base the toolpath on.
I had to order an extra long end mill tool to cut all the way down from 40mm height to ground (took a while too…)
This slope actually done manually:
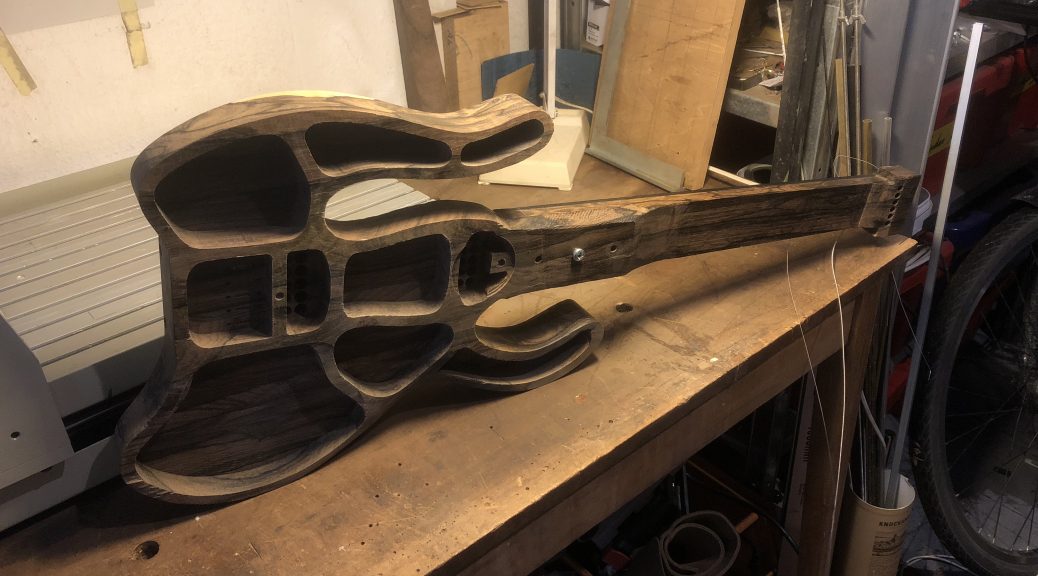
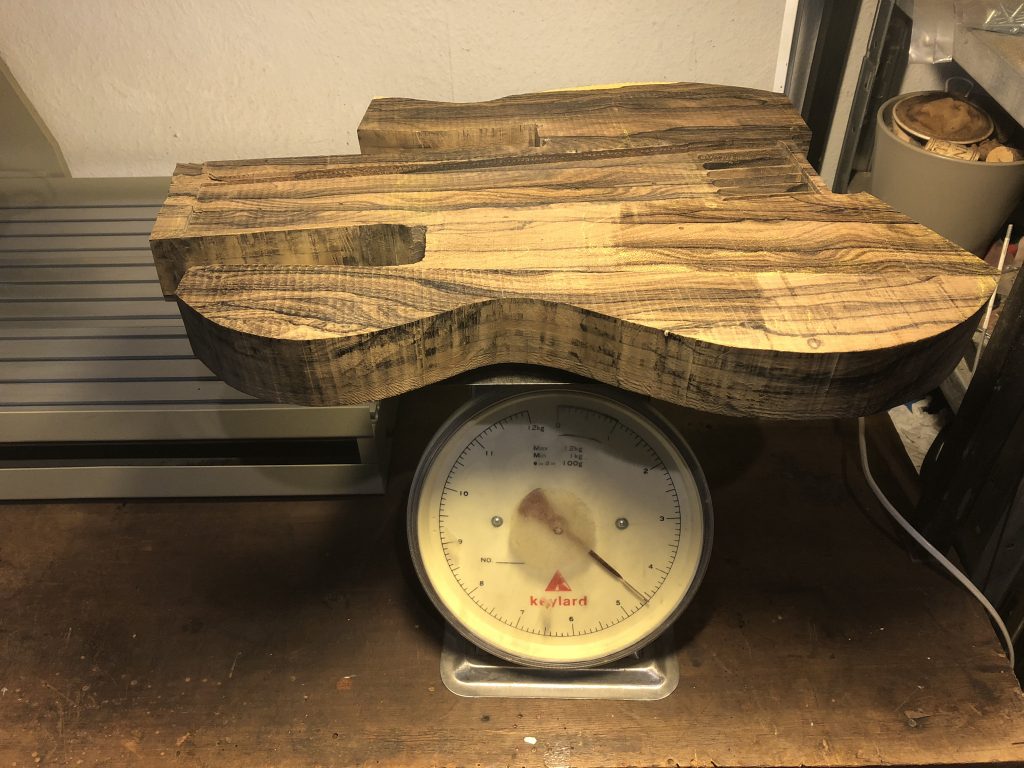
The next design decision was not what I had planned (although one guitar maker had warned me when I bought the ziricote). The problem was that this slab of wood was darn heavy:
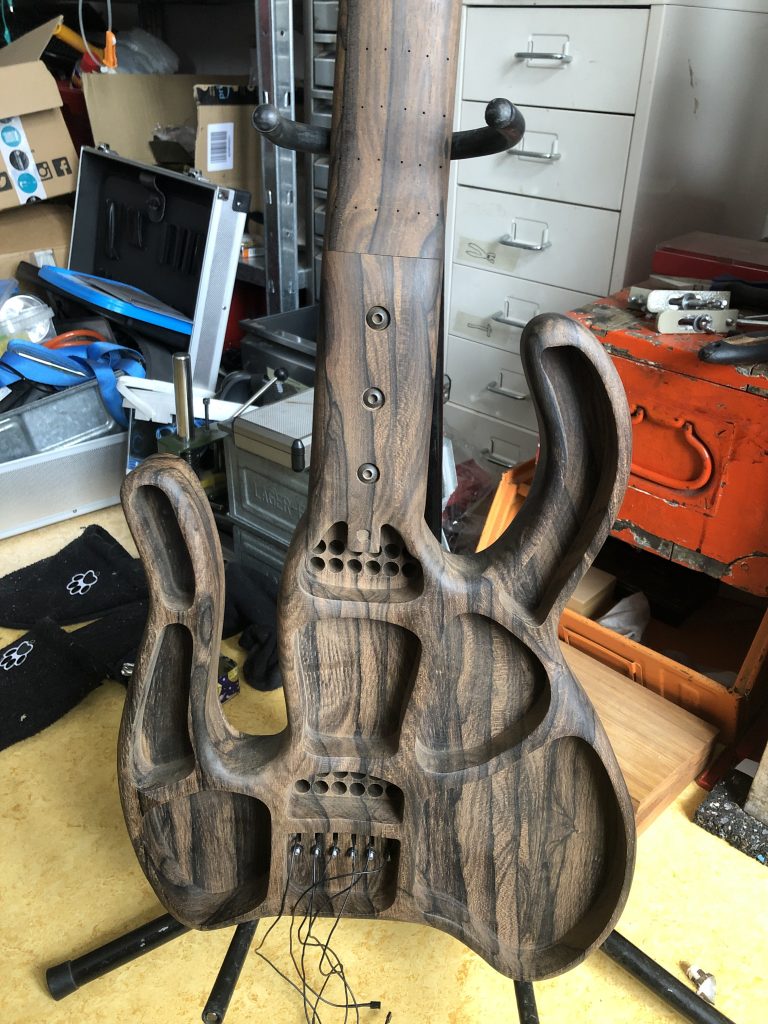
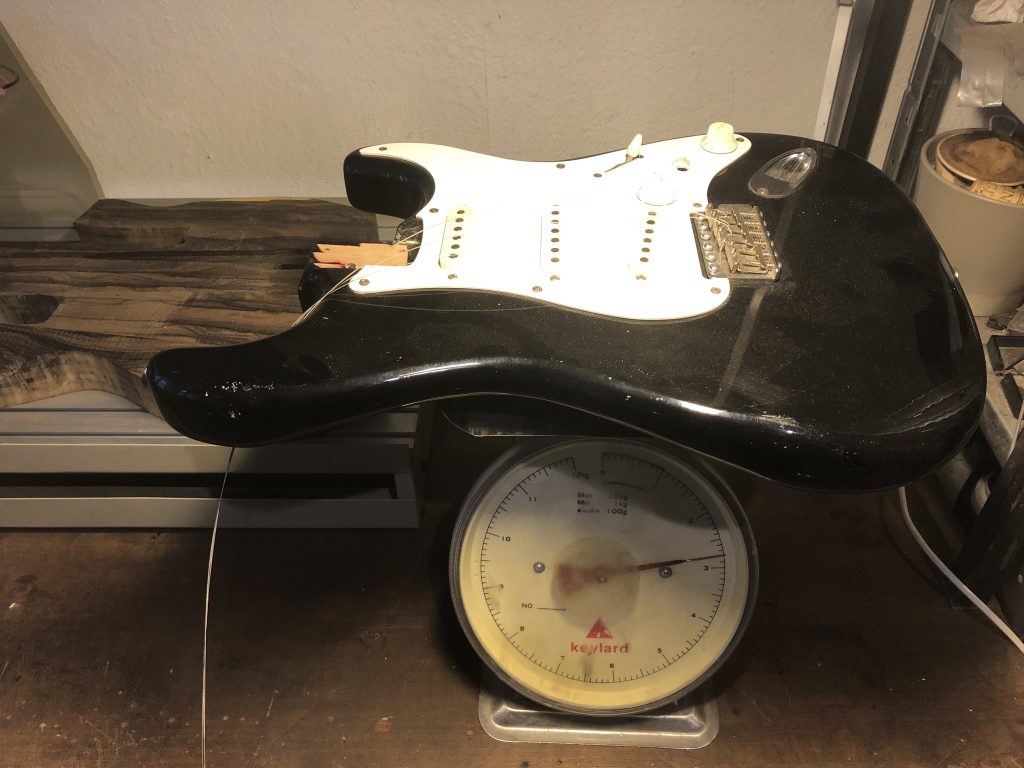
More than 50% above a standard Strat body:
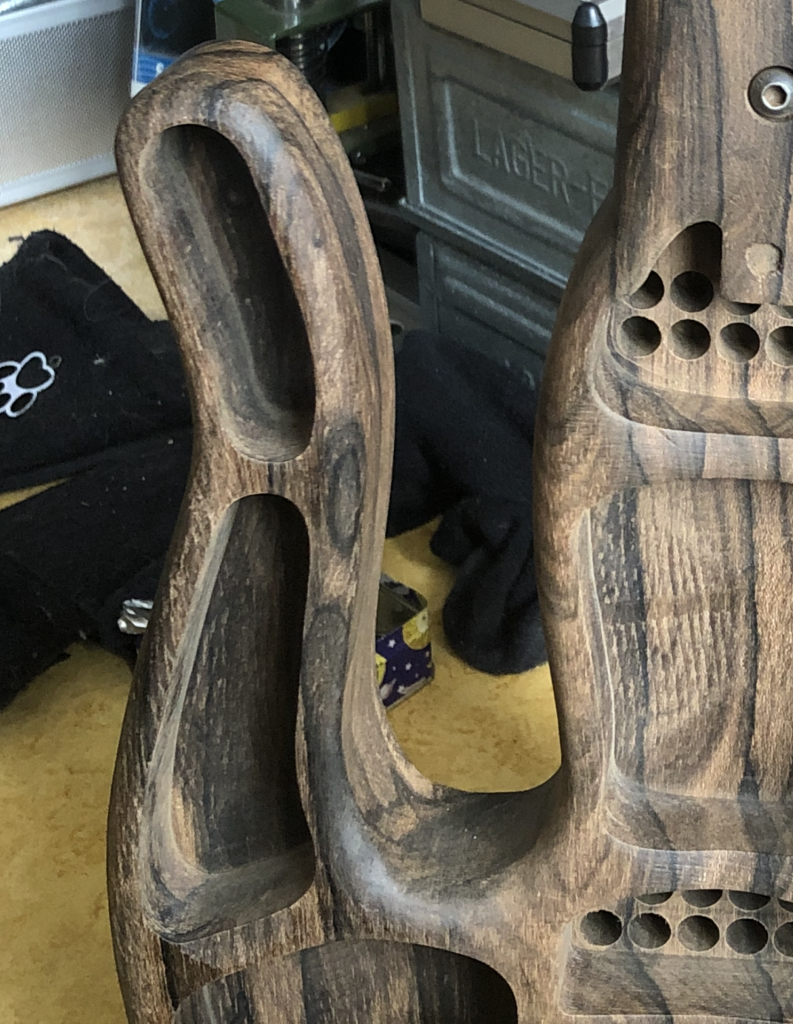
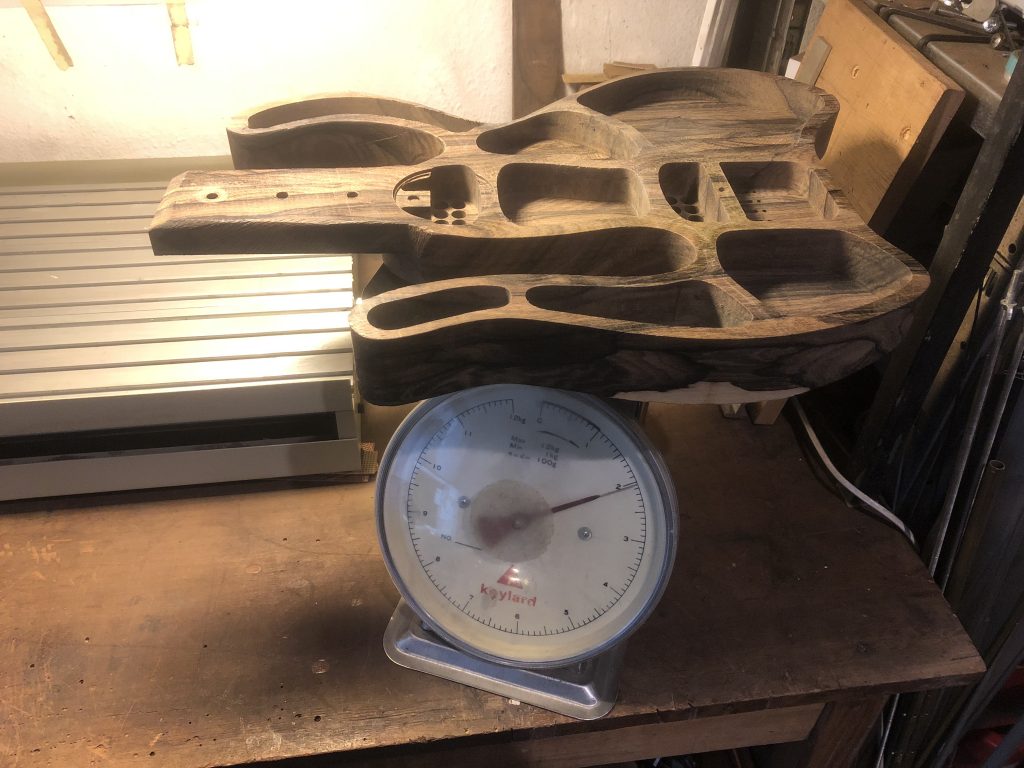
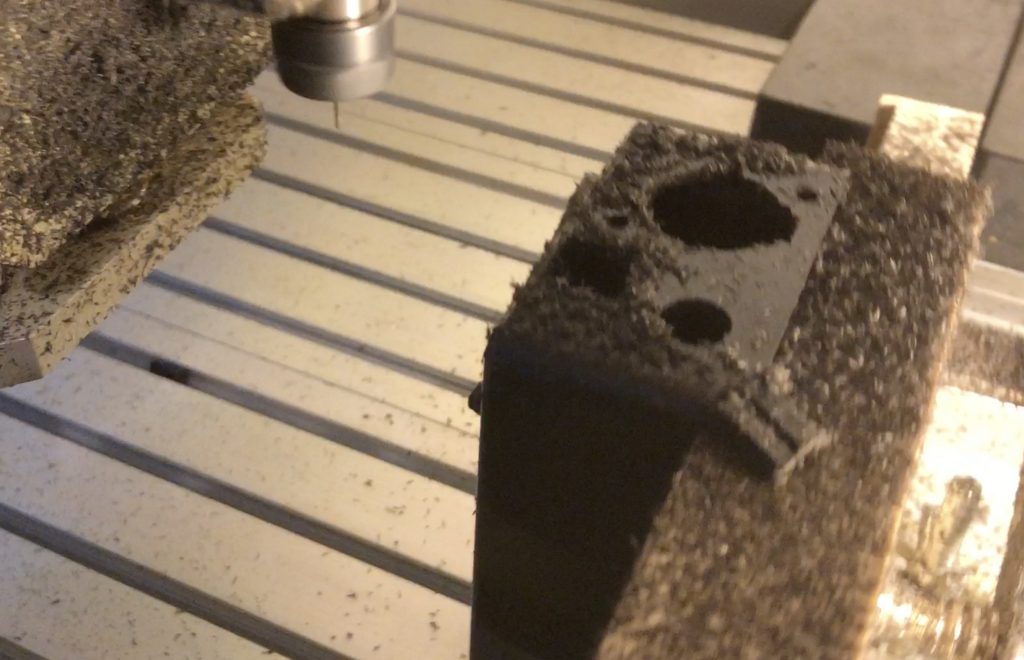
So as I needed a lot of room for electronics anyway, I decided to cut pockets everywhere, turning this axe into a semi-acoustic (or maybe quarter-)
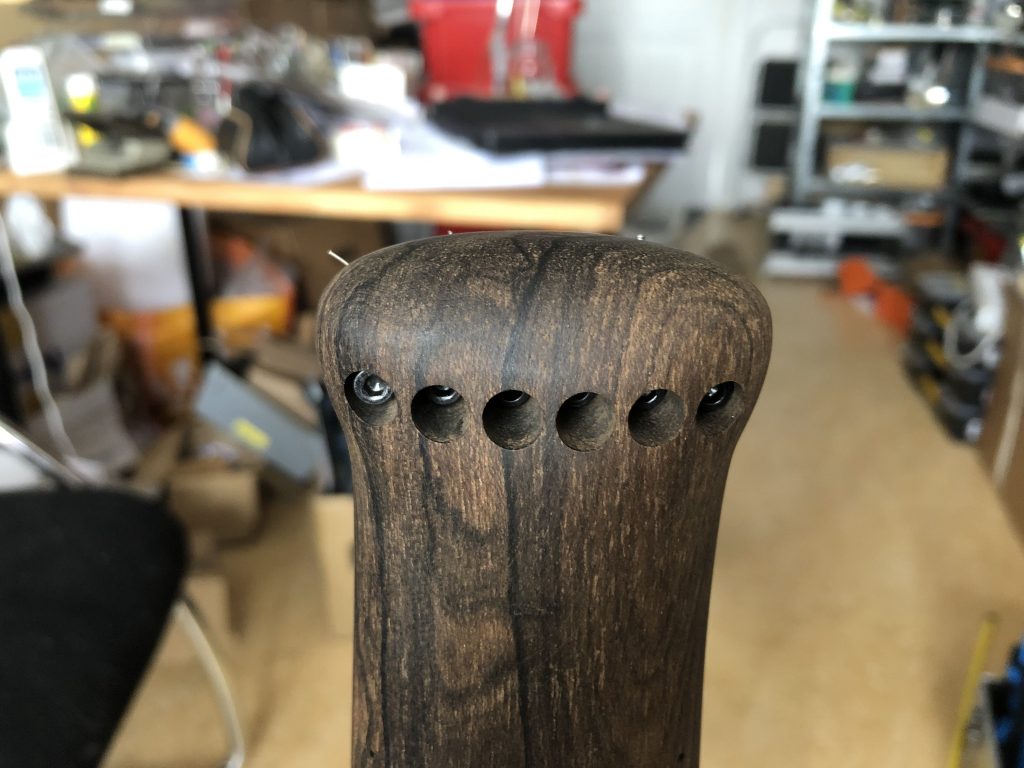
As you might have guessed from the previous posts and pictures, the amount of wood I left for the headstock would not allow for the traditional placements of the tuners. In other words, it’s a so-called head-less design (technically there’s actually still a head – it’s just much shorter)
So this approach calls for two components: First, you need tuning machines down at the bridge. This is relatively easy to source – in this case I went for ABM bridges with Graphtec pickups. Thanks to Peter Borowski from ABM, Berlin for helping with this.
The second part are the clamps to hold down the strings at the headstock. While there are purchase options for these too, most do not come as single pieces but as a block for all 6 strings. Which, again, doesn’t work with the wide string spacing I prefer.
So I decided to come up with my own design, where the plan was to work as much as possible with the wood itself, rather than attaching a full-metal solution.
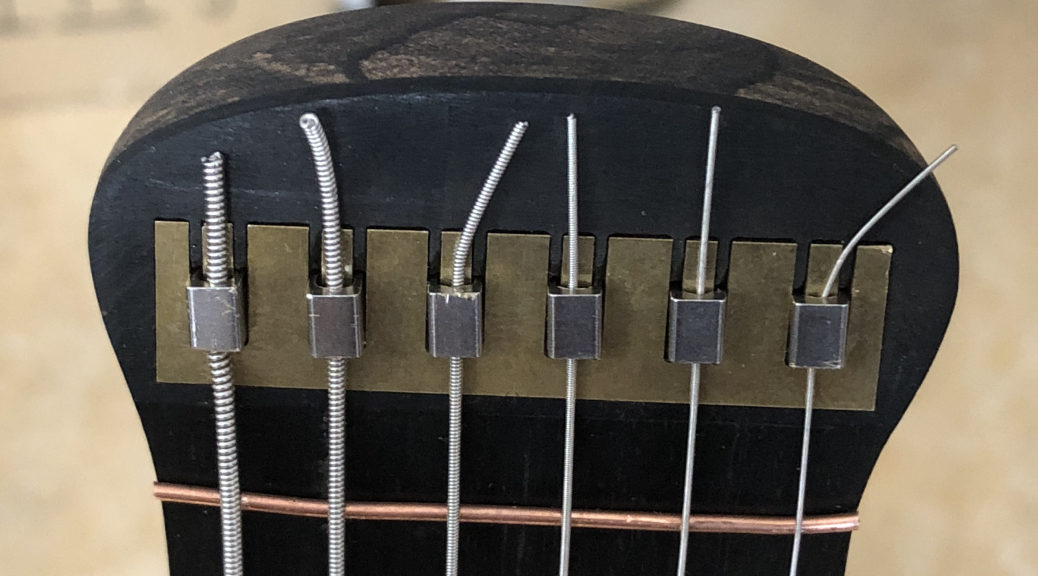
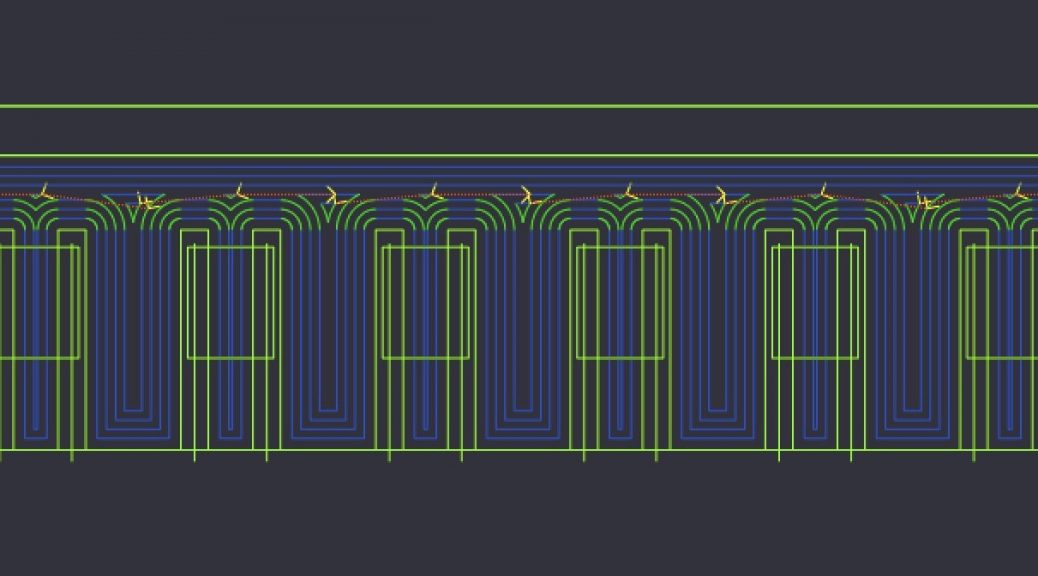
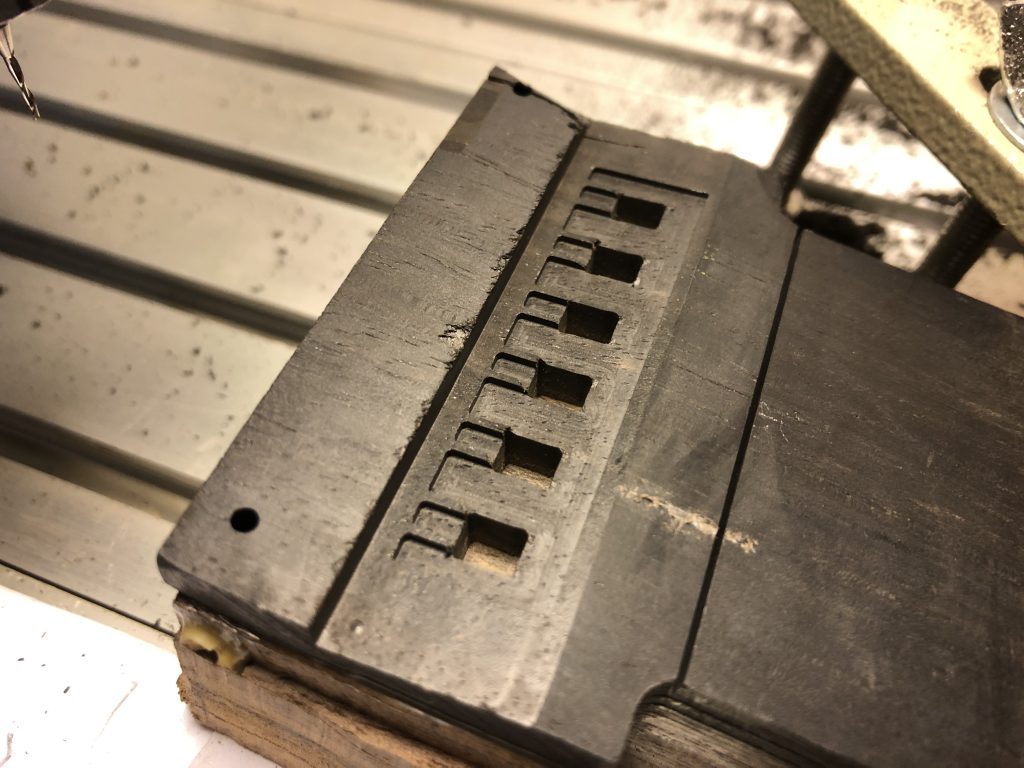
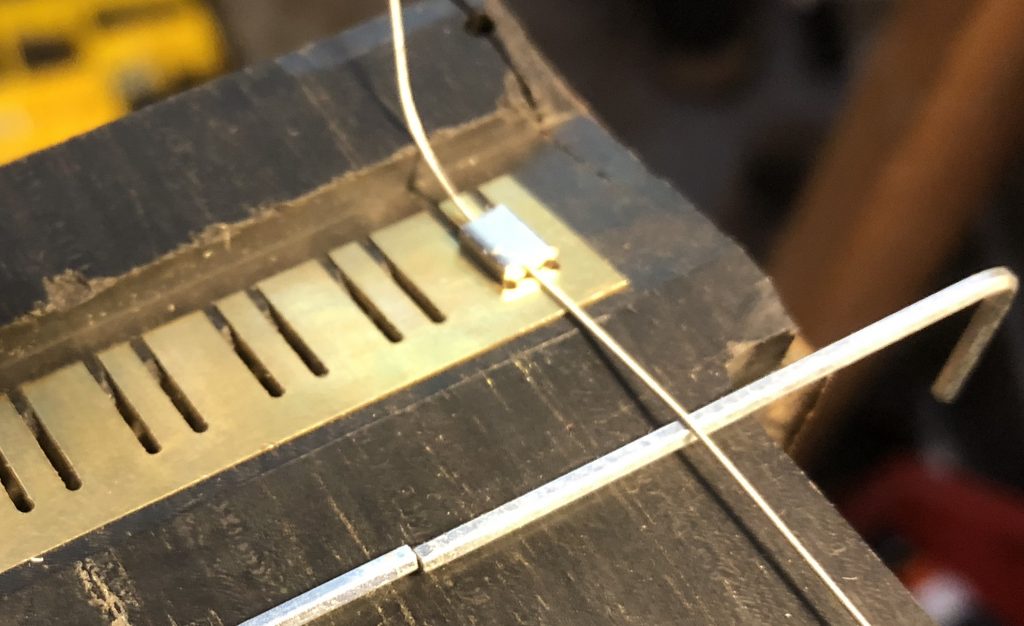
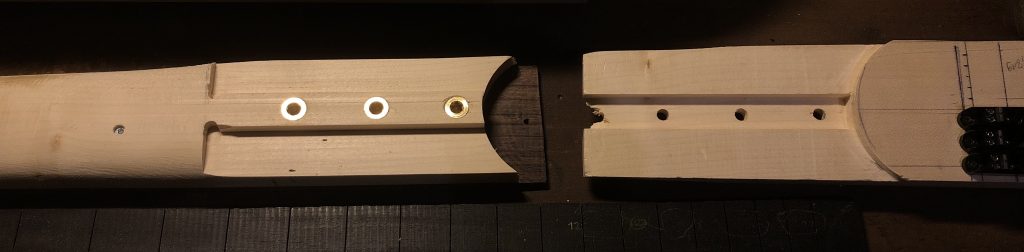
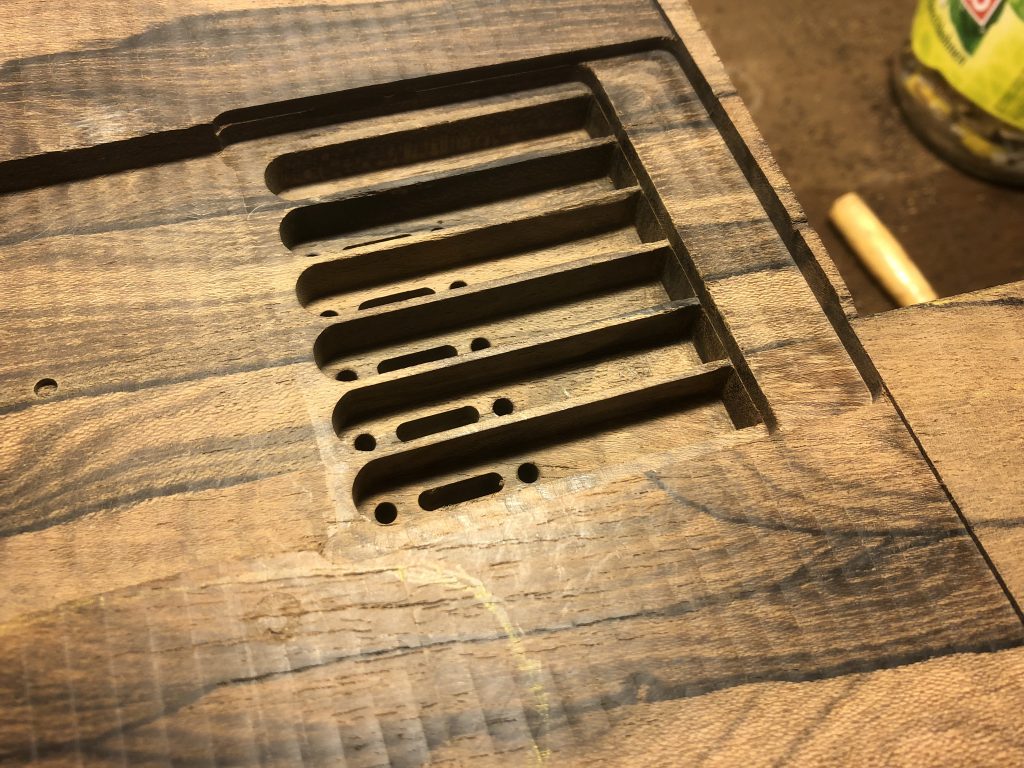
Of course metal is needed in some parts, otherwise the wood would wear down over the years. So I designed an inlay where the string runs over a tiny metal bridge, with slots at each side for the metal clamp.
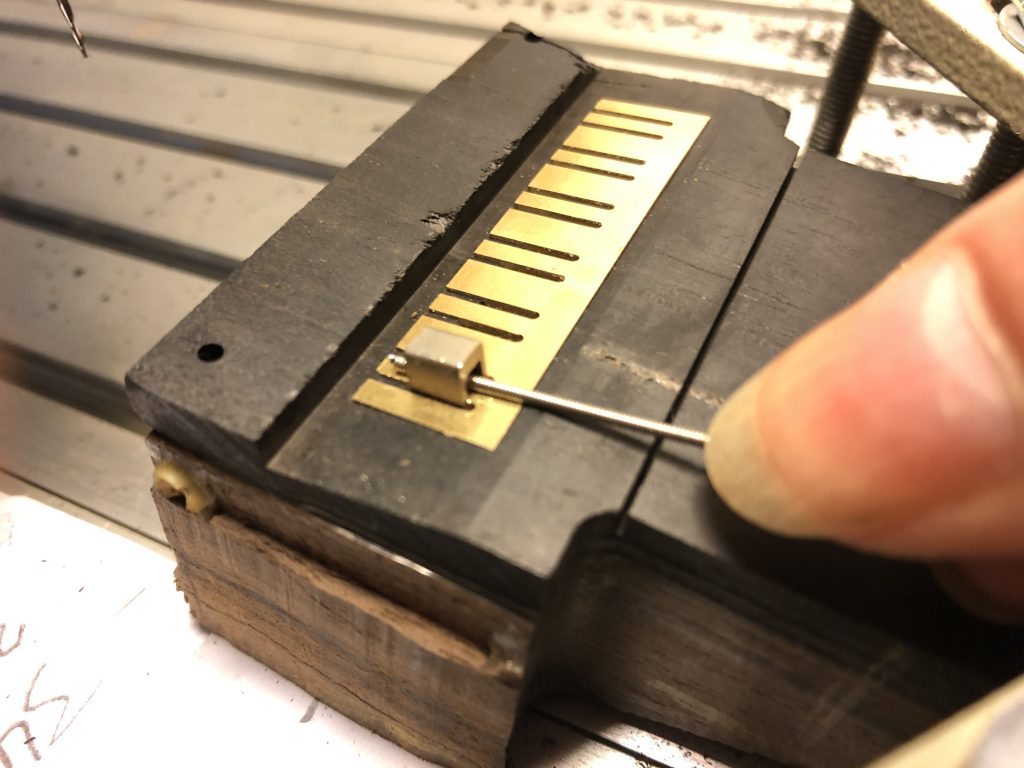
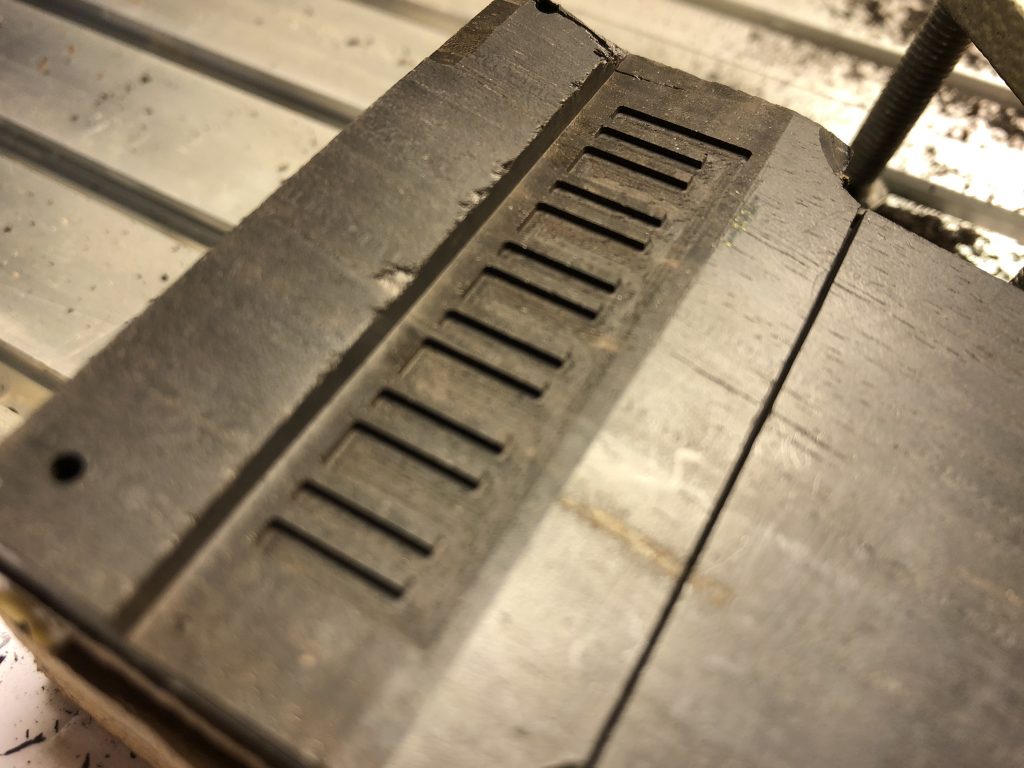
I milled this inlay out of a piece of brass that I had still lying around. This was the first time I used the CNC for cutting metal, so I was a bit nervous if it could do the job, but things turned out nicely without breaking anything:
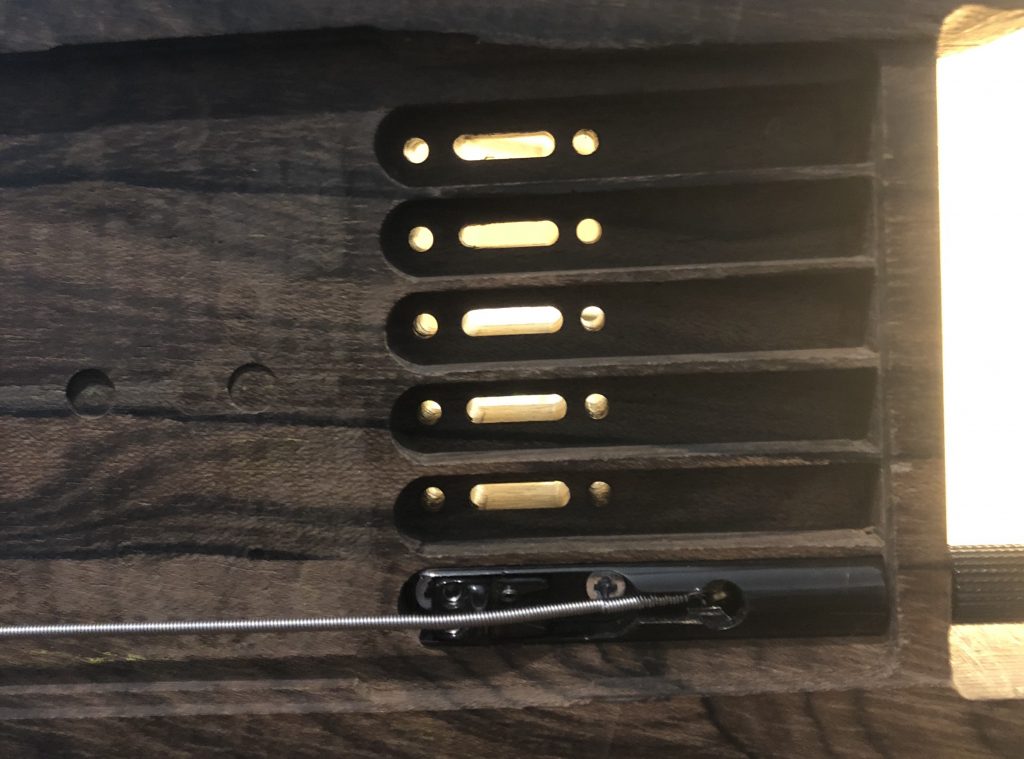
And the pocket to match:
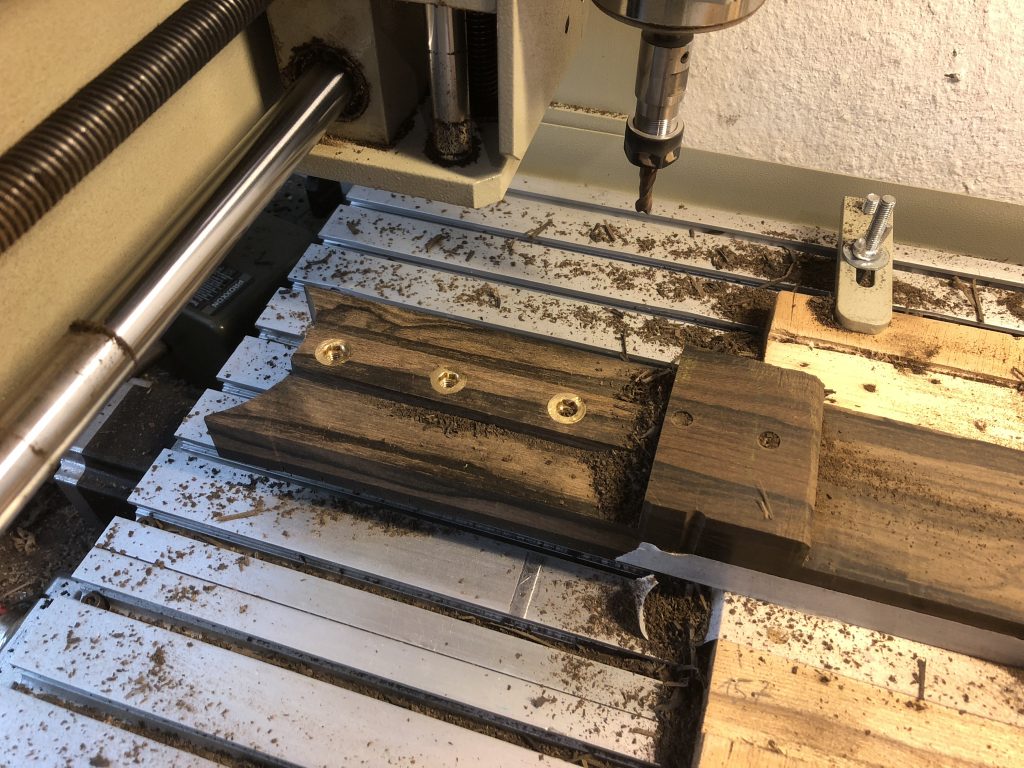
This was then extended with deeper holes for the clamps:
And holes from the back for screws to hold them down:
I decided to practice the neck joint with a piece of maple I had left over, because I was afraid to get it wrong and then not being able to undo the damage.
I went for a slotted design to stabilise the alignment. Used three M6 Rampa wood screw inserts.
This seemed to work fine, so I applied it to the Ziricote body…
…as well as the neck:
And here’s neck and body joined for the first time:
Here’s the neck with the truss-rod already in place. You can also see the fretboard behind it – I didn’t cut the slits for the frets myself, although with the CNC machine that would be possible of course. But back then when I ordered it, that wasn’t the plan
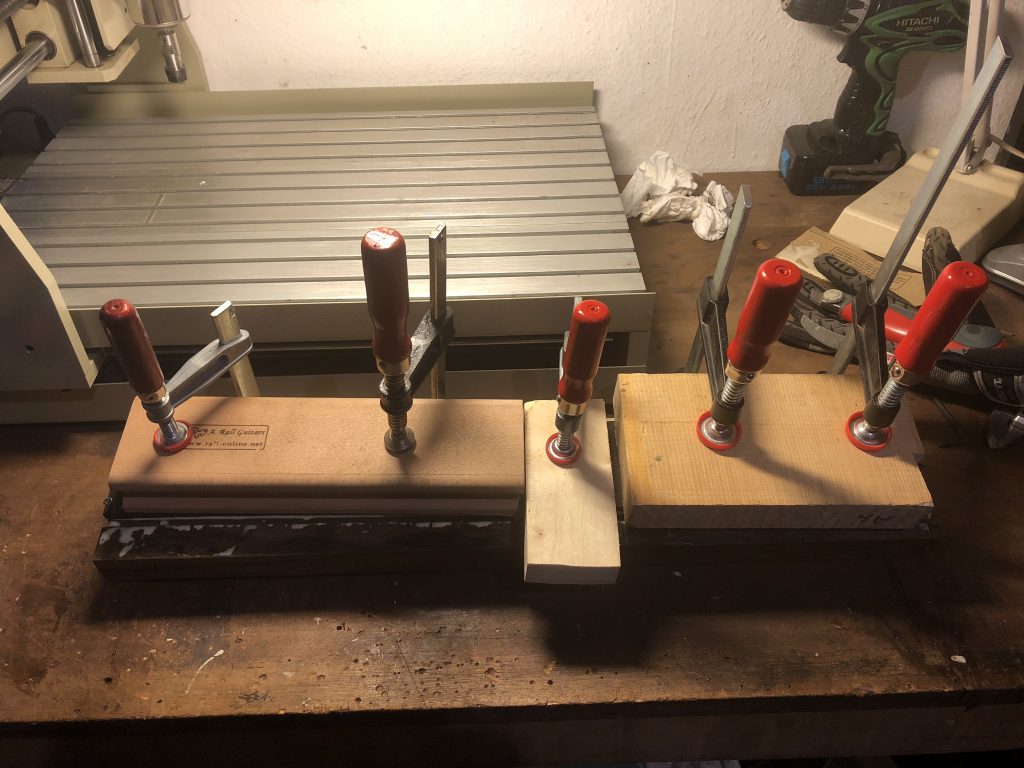
Mating fretboard and neck:
Not the most professional clamping job, but it worked out fine.
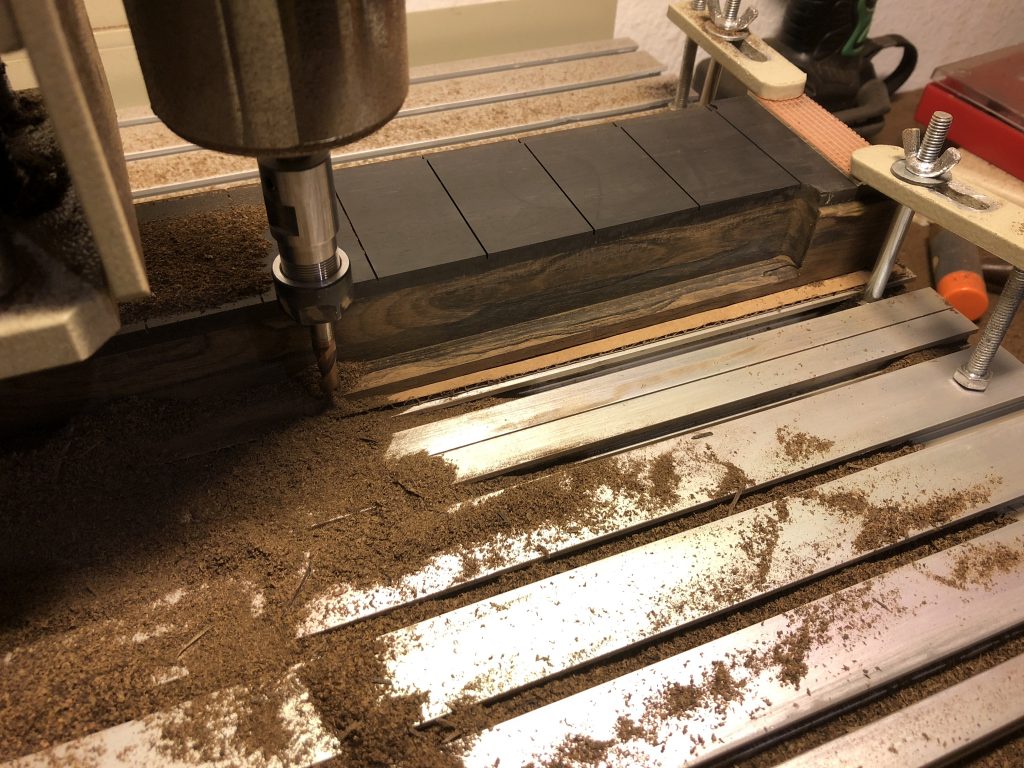
Milling the sides for the correct width:
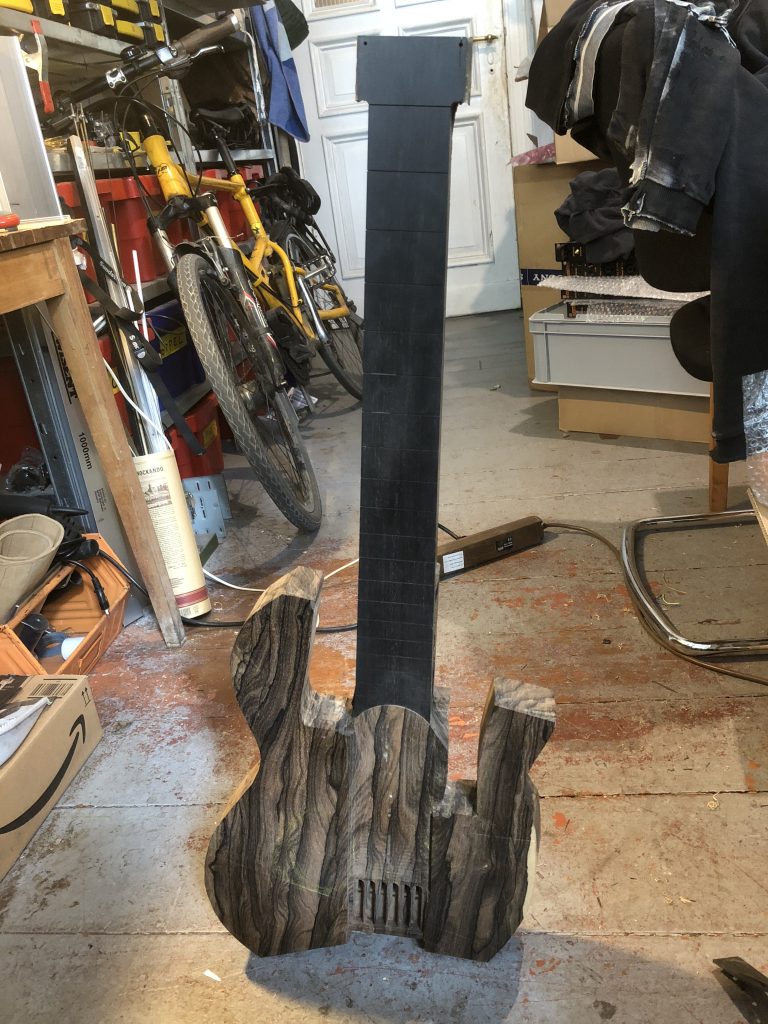
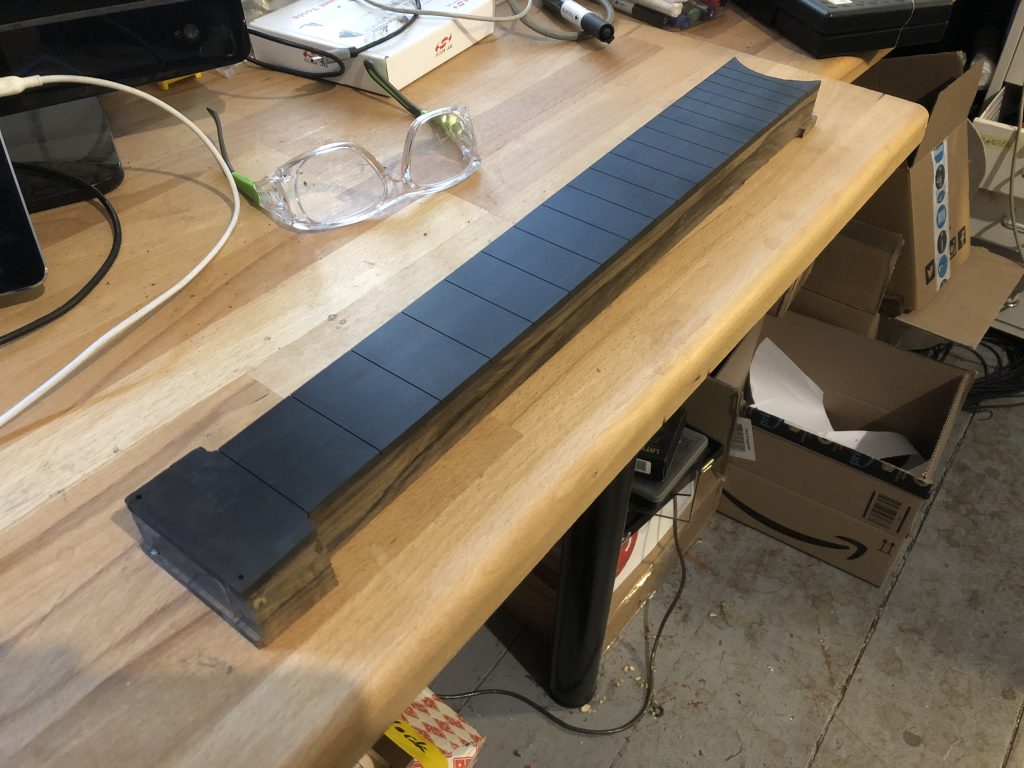
The completed rough cut of the neck:
The headstock is still rather blocky, as I wasn’t sure what shape it should have, so I left more material on in order to have options.
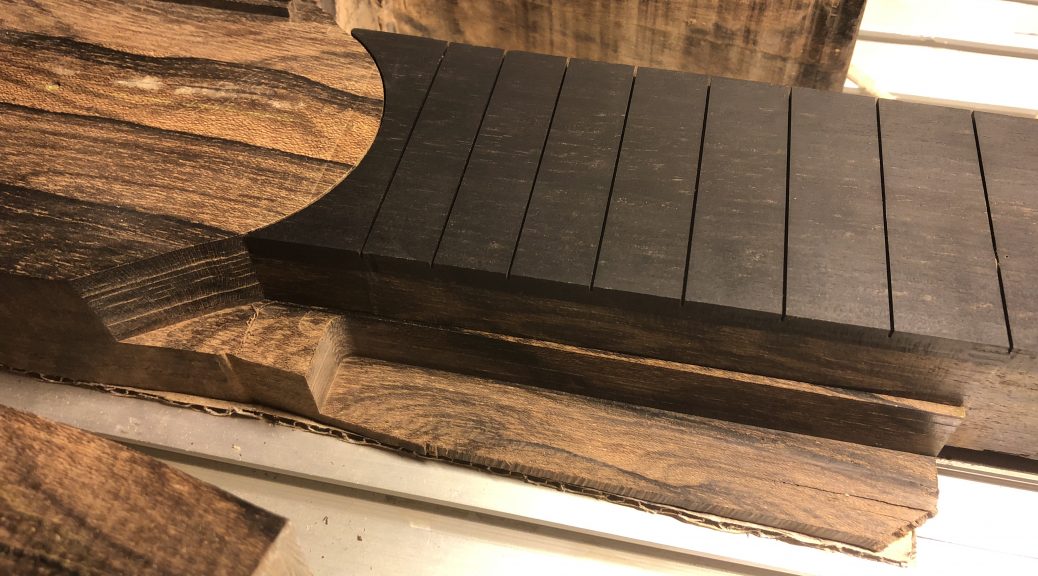
Also note the round shape at the end where it meets the body. It follows the curve of the sound hole of a classical guitar. More on the neck-body joint in the next post
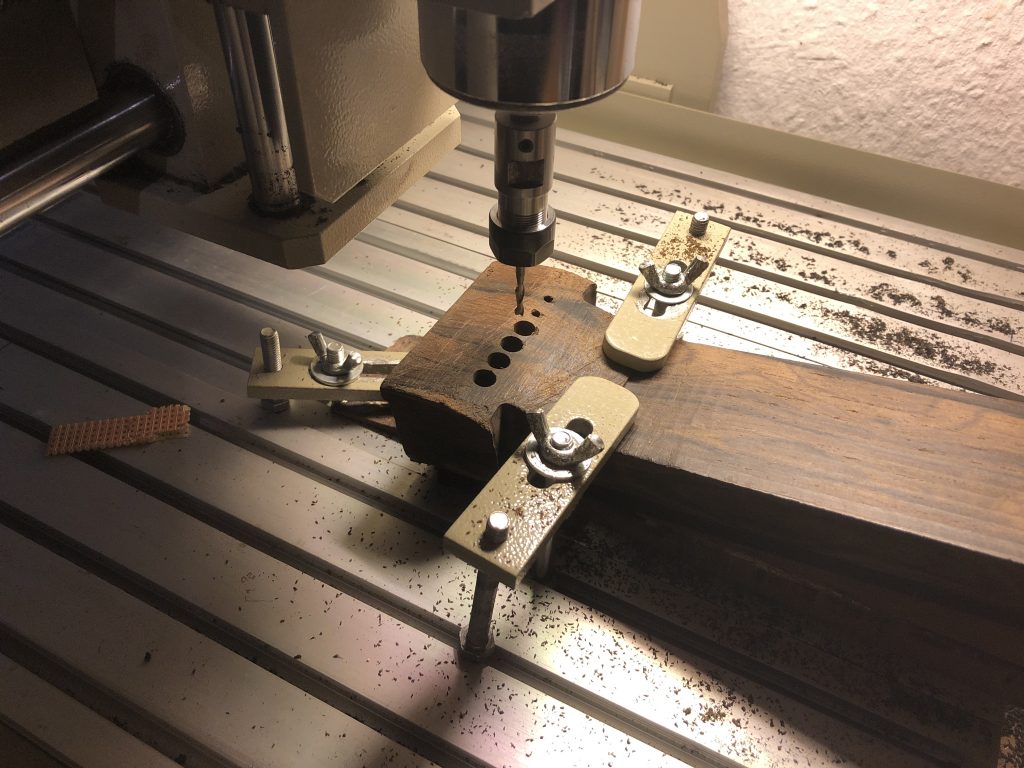
I bought this initially to a) do quick PCB prototypes, b) cut irregular holes into enclosures, and c) for some very specific guitar jobs.
As it turned out I’ve used it progressively more for c), a little for b), and not at all yet for a).
The main guitar job I had in mind back then was to precisely plane the body and neck areas where they will be joined, as that’s something hard to get right with just manual tools. But after playing more and more with this machine, I found myself applying it to many other tasks, while also improving my CAD/CAM skills.
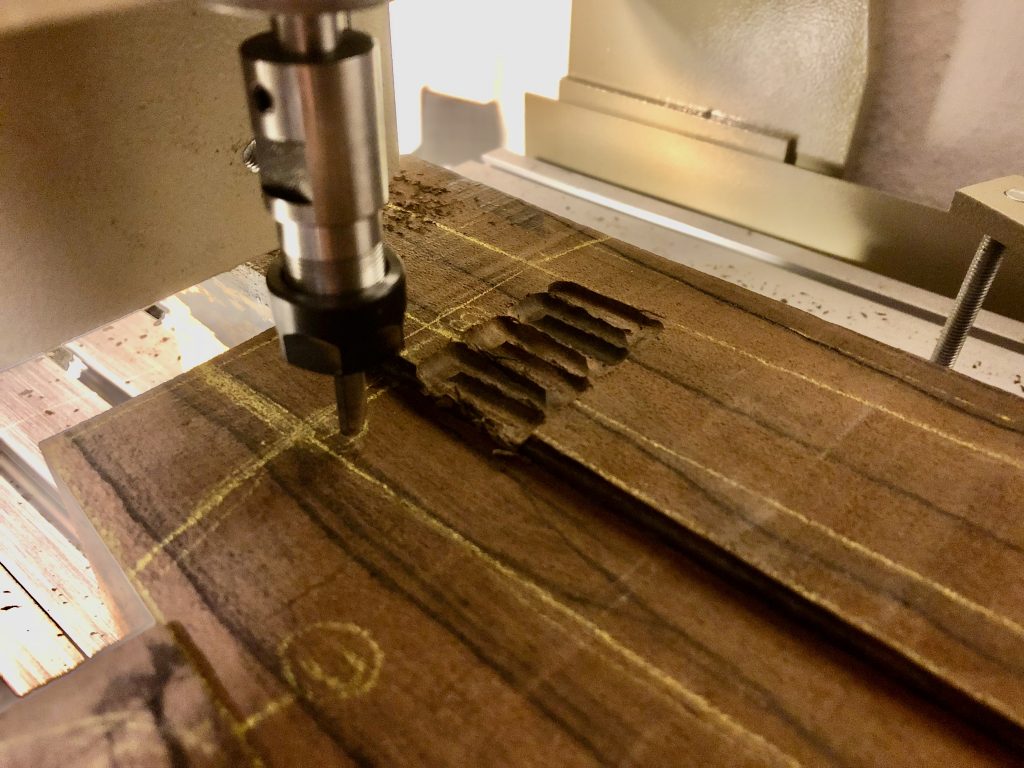
The first step was to test the machine with the manual controls, so I made some exploratory cuts in regions that would be cut away anyway:
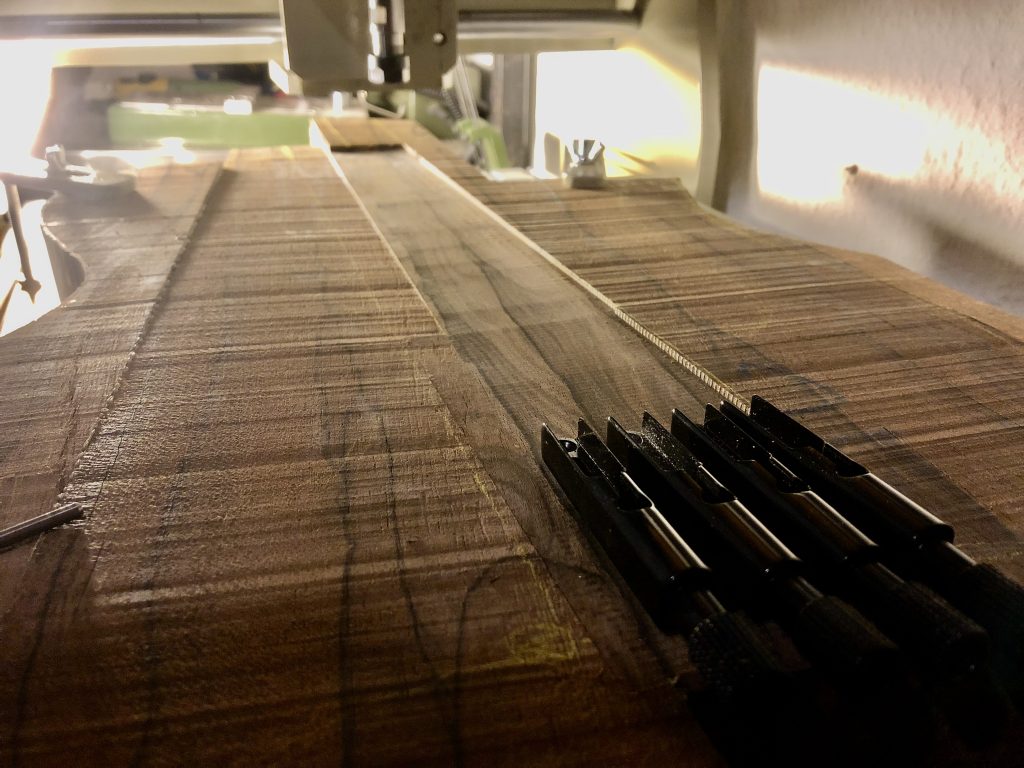
Next, I wrote a number of scripts in gcmc, i.e. one step above bare-bones g-code. This is used to cut a narrow trapezoid from the bridge to the end of the body to delineate the area where the strings would go.
Then, after this turned out nicely, I wanted to try more advanced stuff. So I bought a simple CAM application (CamBam) that would allow me to design basic 2D shapes that would then be milled to a certain depth (what is commonly called a 2.5D approach).
I applied this first to pockets for the bridge elements to ensure that they are perfectly aligned.
The software can calculate a tool path and then export this to g-code, which can be read by the CNC controller, in this case Mach3.
A lot can be said (and fabulated) about the tonal qualities of the various types of wood used in guitar making, alas, having not much personal experience in this field, I admittedly based my choice largely on visual qualities.
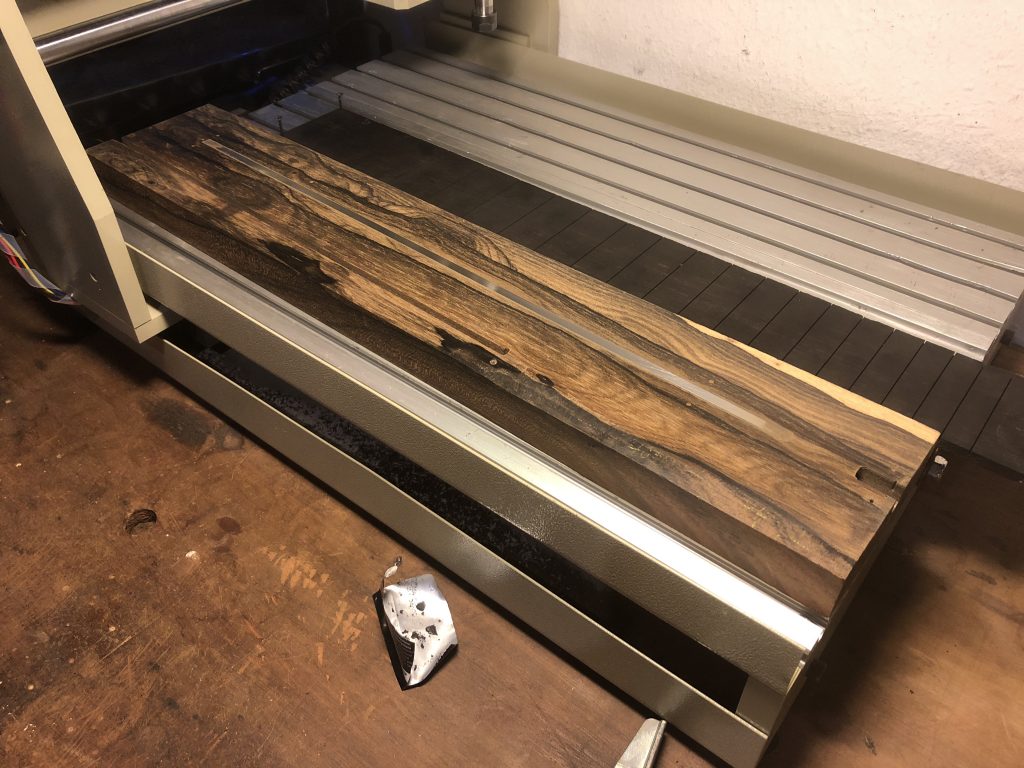
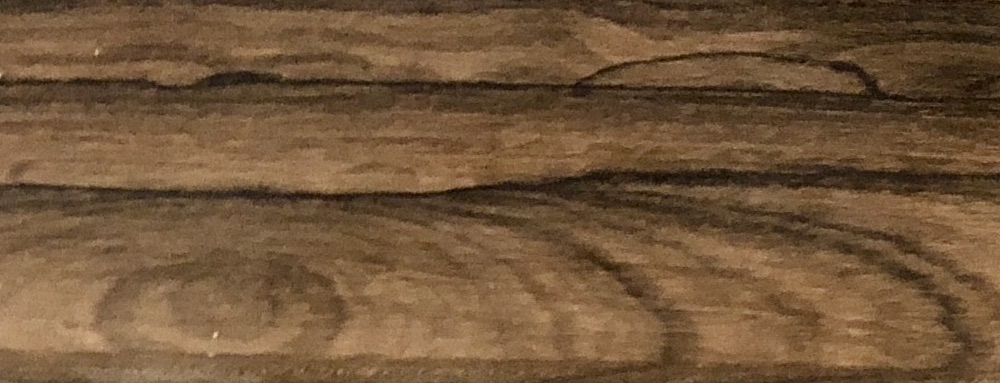
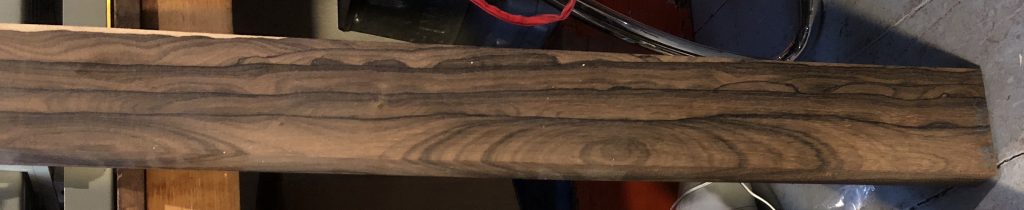
In particular I came across this neck piece of Ziricote, a tree I had never heard of before, but immediately liked due to its intricate markings:
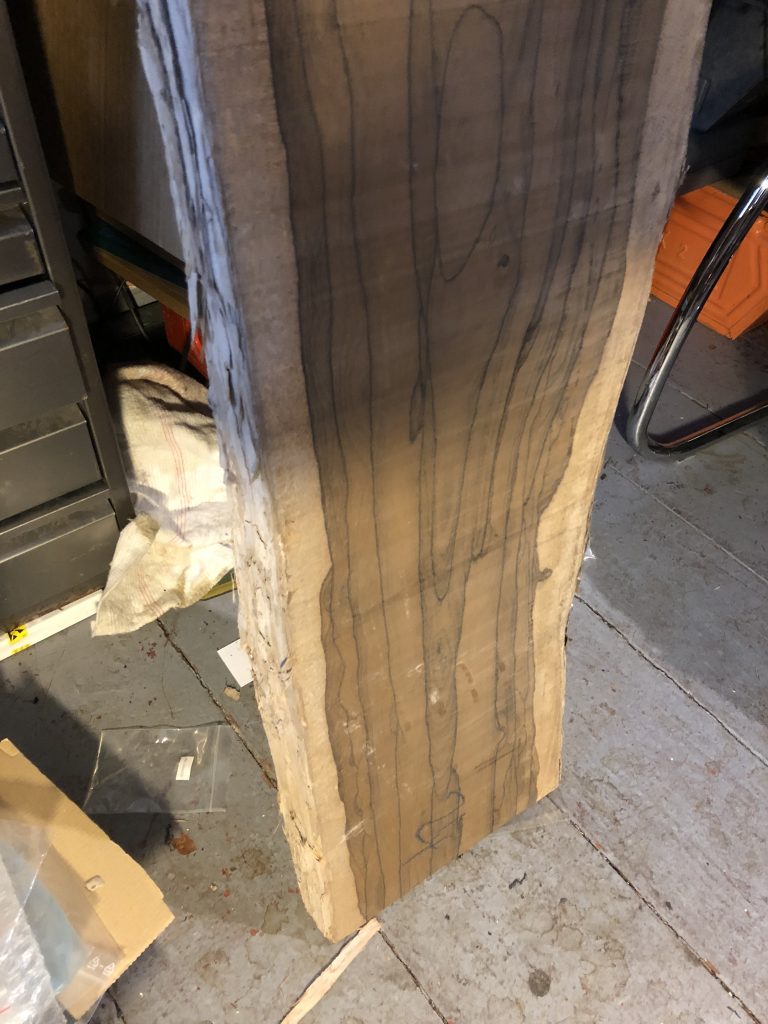
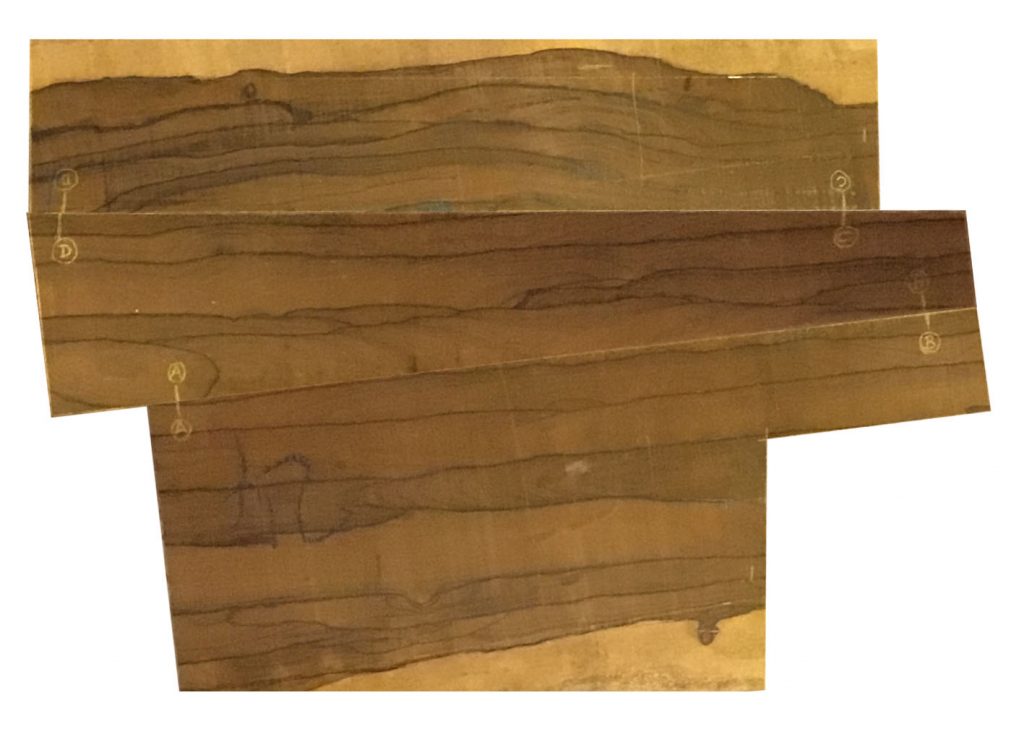
As I prefer single-type wood guitars (save for the fretboard) I then faced the much harder task of finding a large enough Ziricote piece for the body. Most dealers said this was not possible, but after much back and forth Nebelheim Tonewood procured a plank that seemed promising (thanks much to Manuel Wemmer for helping with this):
Note how the dark core is surrounded by lighter wood.
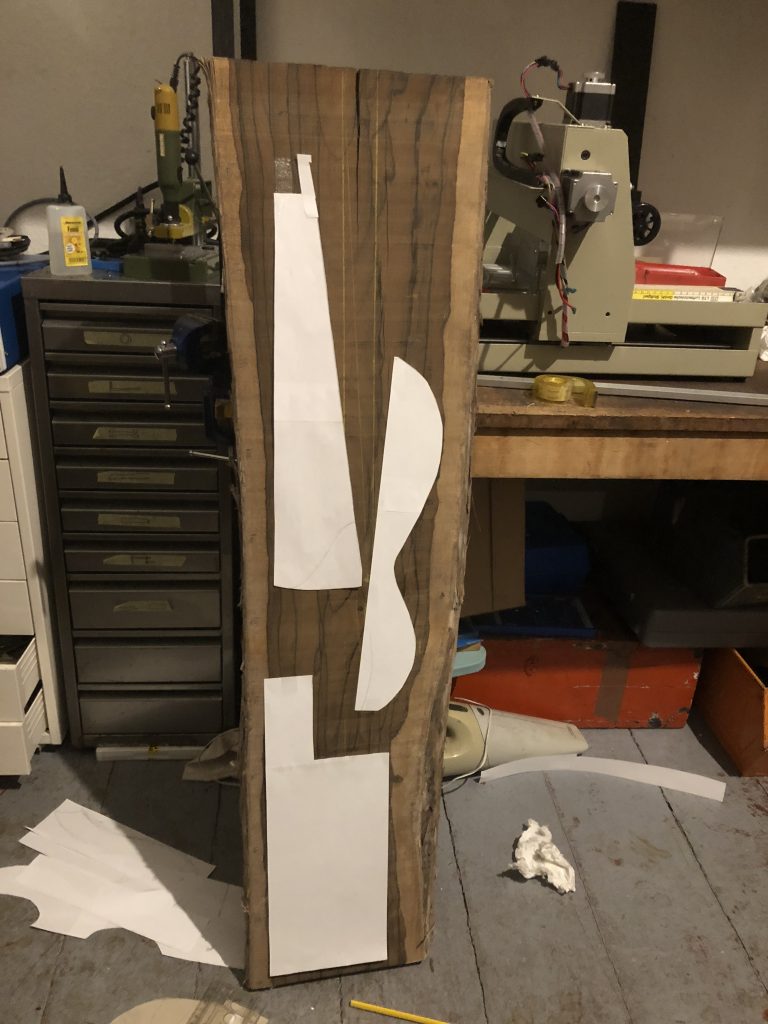
Of course this wasn’t wide enough for a one-piece body, and even a two-piece didn’t pan out because I had to work around a crack. So I ended up with this cutting plan:
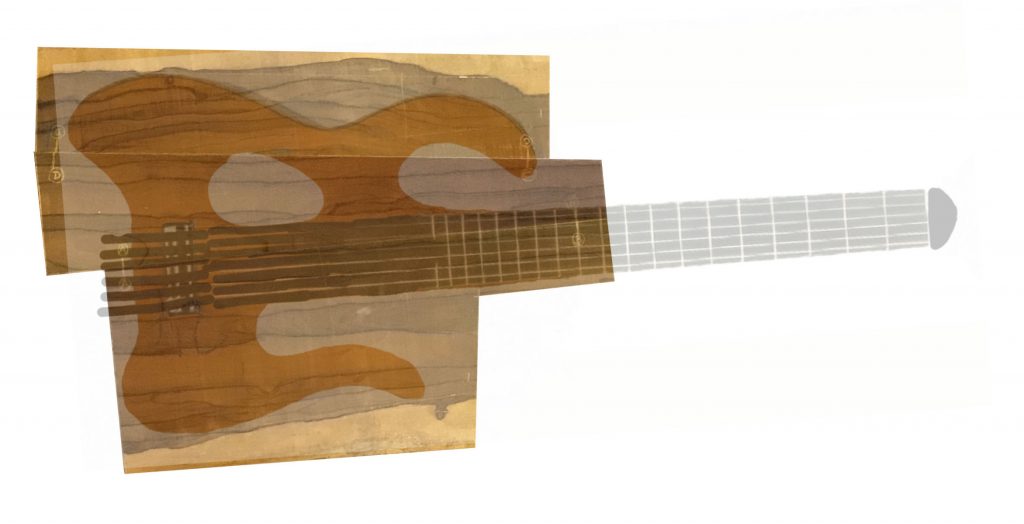
Put together like this (Photoshop simulation):
With an overlay of an early design sketch:
I then took this to a local shop in Berlin to do the actual cut and paste. Thanks much to Guitardoc and Anthony Schneider in particular for the help!
I forgot to take a picture of the raw assembled block, so here’s one at a later stage where the upper curve has already been cut out:
More on the machine in the background in the next post